
Infinity Gauntlet
Recreating a movie prop for fun!
Movies and TV are a huge source of inspiration for me, and sometimes I see something that I really want to make! That was the case with the Avengers : Infinity War gauntlet.
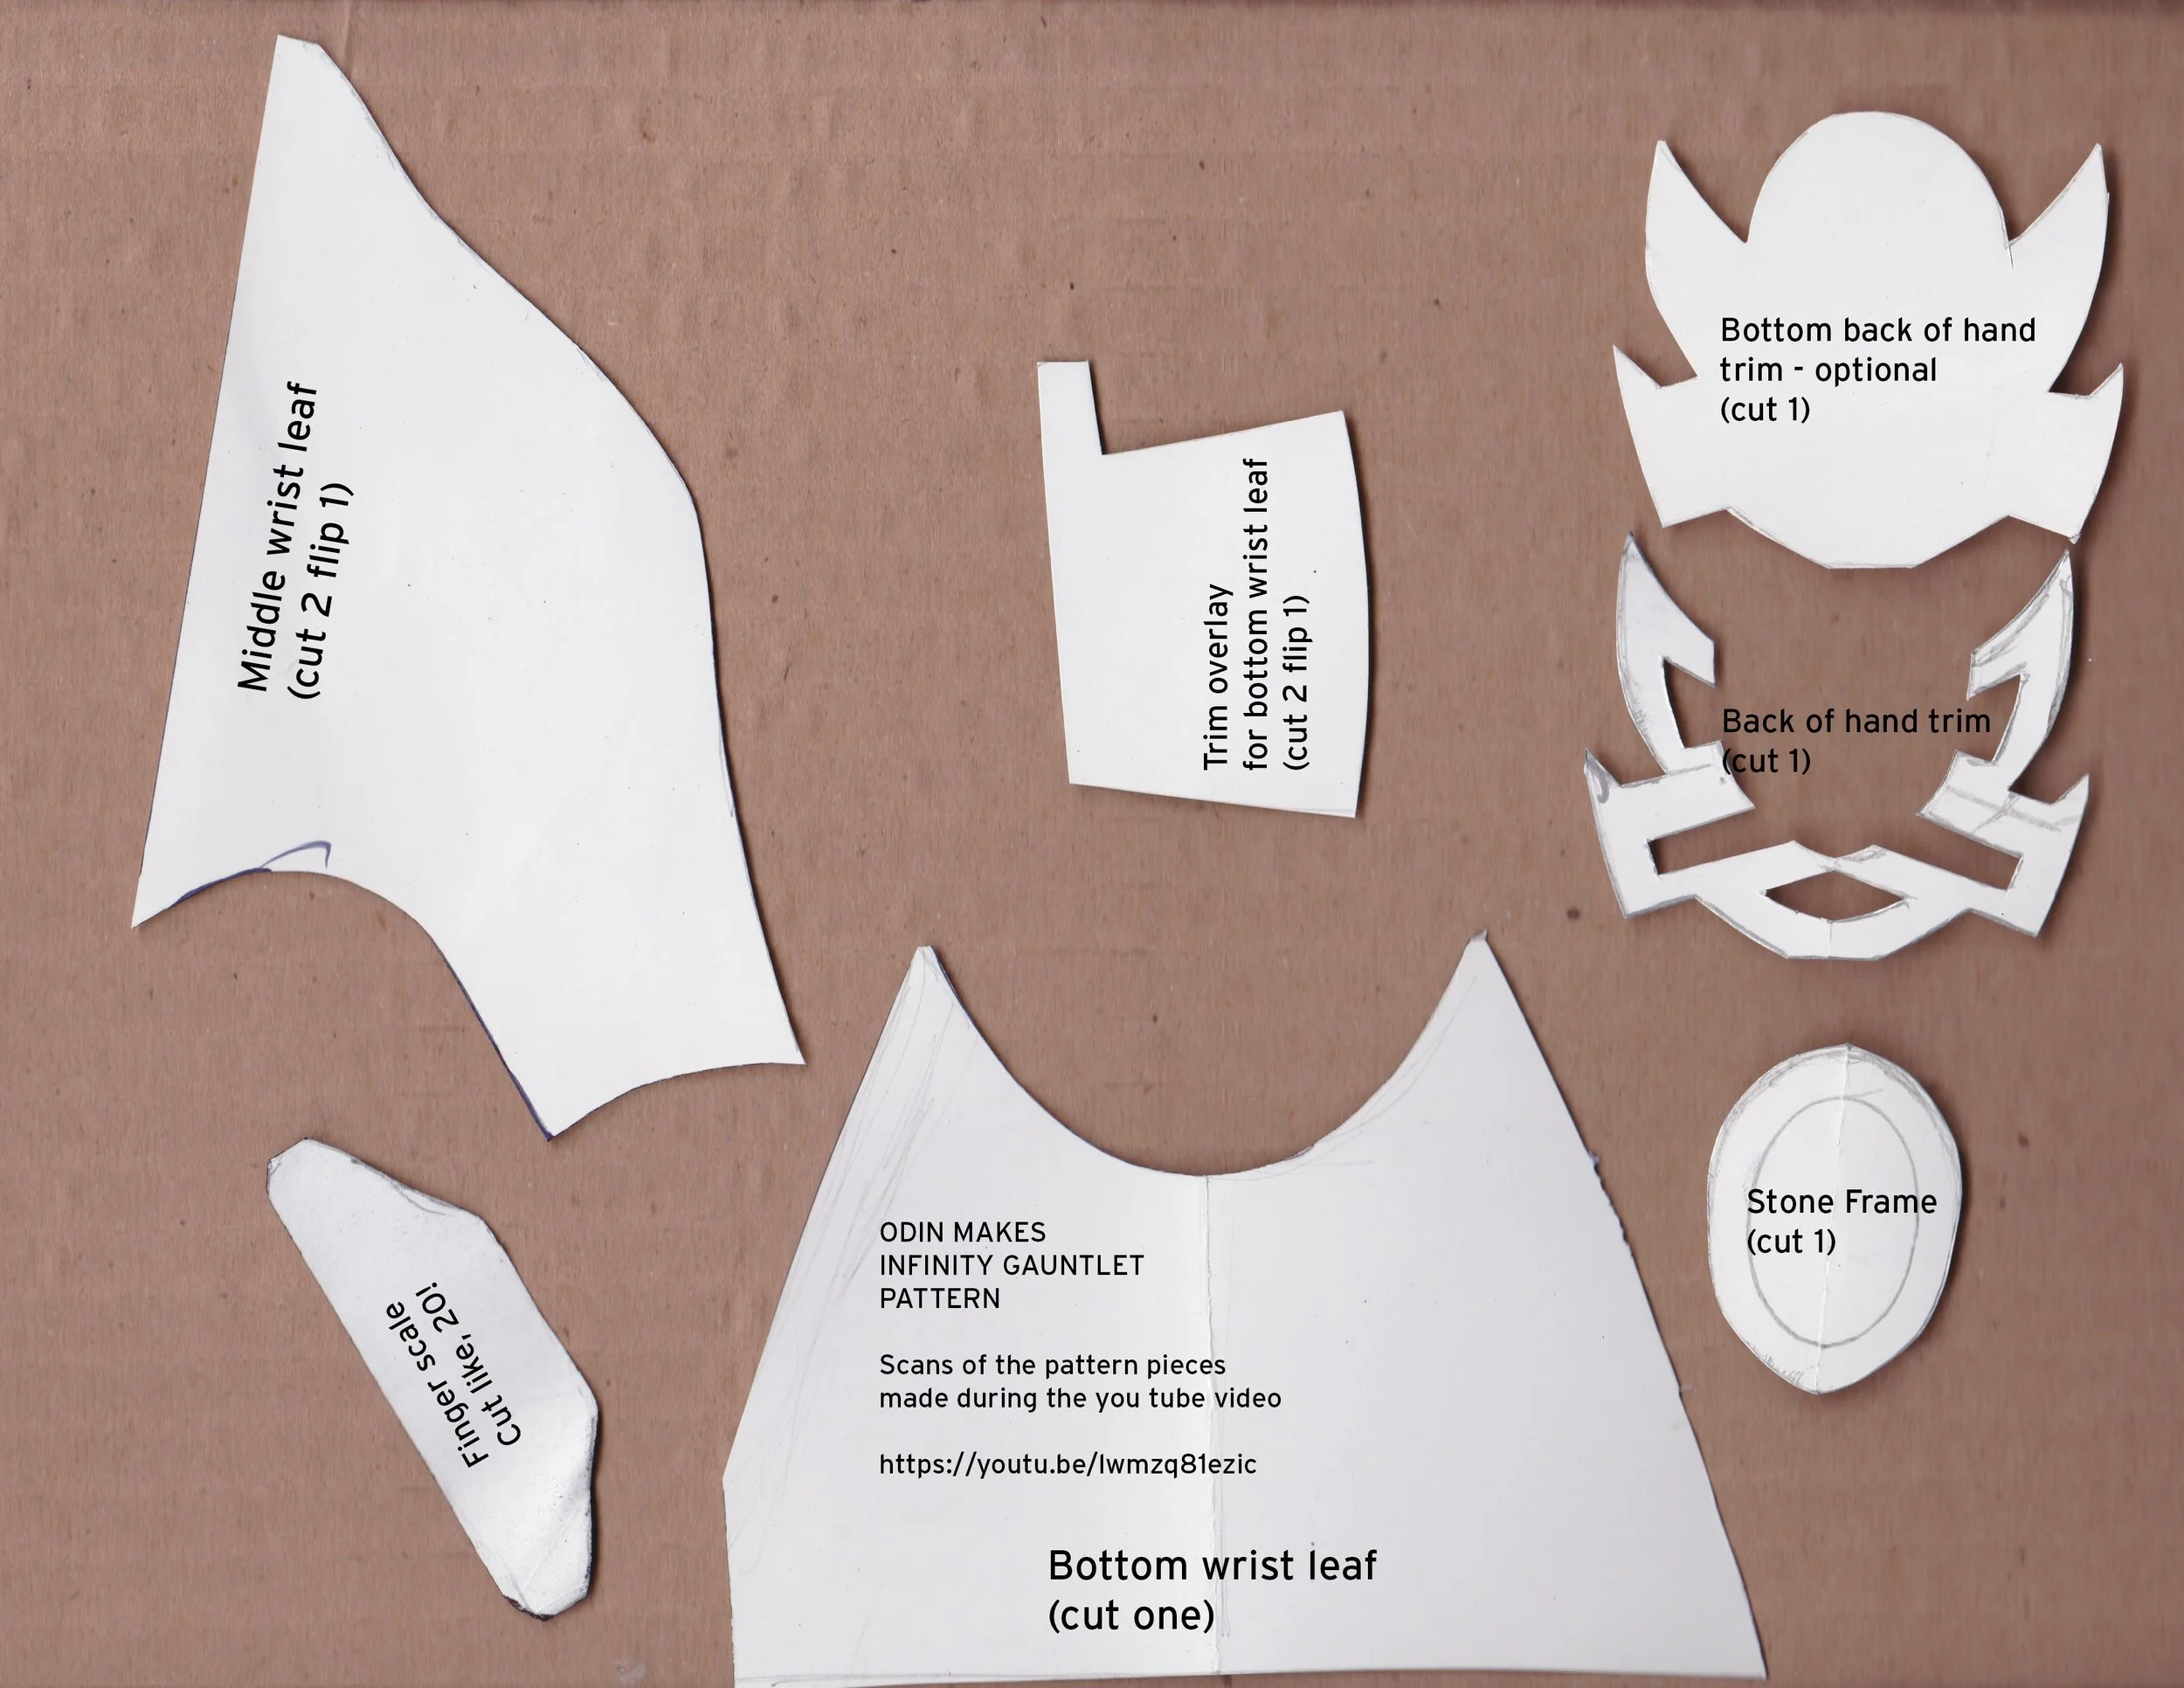
My favorite youtube foam-smith, Odin Abbott, had created a template and put it online for other people to enjoy.
My (now) wife loved the idea and we spent a weekend shaping, gluing, and painting!
Process Steps
Odin Abbot has done a spectacular video on how to make his template come to life. But here is a summary of what it was like for me to follow along with the fun.

Measurements

Creating Physical Details

Cutting and Shaping Foundation

Painting and Detailing
Measurements
I Started by accessing Odin’s template and sizing it to my own hand and materials. I did that by taking a picture of my hand on a cutting mat and then overlaying the template lines over my image.


Cutting & Shaping Foundation
The Gauntlet template is focused on two large pieces. They form the foundation for the rest of the details. We traced these pieces on to floormat foam, and taped them to a leather welding glove to test out the sizing.
Whether it was human error, or the difference in materials, we decided we would be happier if we freehanded the shape for the palm of the gauntlet. We used tracing paper to create a rough copy of the original. Then we traced over the detail parts that we knew we needed to layer on it later. That allowed us to create something that had plenty of room, and worked with the shapes that we had.


Creating Physical Details
I love how proportion, scale, and depth come together to create the details of a physical design.
Foam cosplay really lets me explore the ways to accomplish that type of creation. We used 3mm and 5mm foam on top of our 1/2" inch (2.5cm) foundation to create the illusion of a fully forged gauntlet.
Once that was complete, we used puffy paint and a knife to add positive and negative space additions to these pieces.
The result was a beautiful layering of shadow and shape.


Painting and Detailing
Once the glue and paint had dried, we started adding color and final touches to the gauntlet.
The first step was sealing the foam. We used a can of white plasti-dip to keep the paint from soaking into the foam pieces and to create a primed base.
Afterwards, we used an antique bronze (per Odin’s tutorial) to create the metallic effect we were looking for.
Lastly, we created highlights and lowlight to break up the monotony of the single tone. We used a watered down brown / black acrylic paint to add depth, and used a metallic gold to give some areas a polished look.
Oh, and then we travelled the Nine Realms gathering the Infinity Stones.


Final Thoughts
This was fun, awesome, and I really enjoyed working on it with someone close to me.
It’s been a display piece in our office and craft rooms. We’ve brought it to Comic Con, worn it at Graduation, and handed out candy with it at Halloween.
It was made easy and accessible by the work that Odin does on his channel. Sharing your experience can help others get a jump start on their own ideas, or just help them recreate something they love; and that’s a part of what motivates me to share my own studies and practice pieces here on this site.

